During a home renovation, it’s easy for your belongings to get damaged, misplaced, or covered in dust if they’re not properly stored. Whether you’re tackling a full-house remodel or updating a few rooms, knowing how to safely store contents on-site during home reconstruction is key to protecting your valuables while maintaining access and order. This guide walks you through effective storage tips, smart packing, and security measures so your items stay safe until your project is complete.
Planning Ahead
Like any successful renovation, effective storage starts with a solid plan. Taking the time to evaluate what you’ll need to move, what can stay put, and where it will all go can prevent confusion and potential damage later on. Planning helps minimize clutter and makes it easier for contractors to navigate the space during construction.
Assessing Your Storage Needs
Before choosing storage solutions, take stock of everything that needs to be moved. Ask yourself:
- How long will the renovation process last?
- Will the storage area be exposed to dust, heat, or humidity?
- Do you need easy access to frequently used items?
- Will you use a storage unit, garage, or portable container?
Taking inventory upfront helps determine how much space you need and what type of storage options will work best for your home and project timeline.
Setting Up a Temporary Storage Area
Once you’ve assessed your needs, designate a dedicated storage area in your home or on your property. This space should be clean, dry, and separate from the main construction zones. Common options include the garage, an unused bedroom, or a portable storage container placed in the driveway.
Keep in mind:
- Choose a space with minimal foot traffic from contractors
- Elevate boxes and furniture off the floor if dust or moisture is a concern
- Leave clear paths for access and ventilation
- Use tarps or temporary walls to separate storage from work areas
This setup ensures your belongings stay protected and out of the way throughout the remodel.
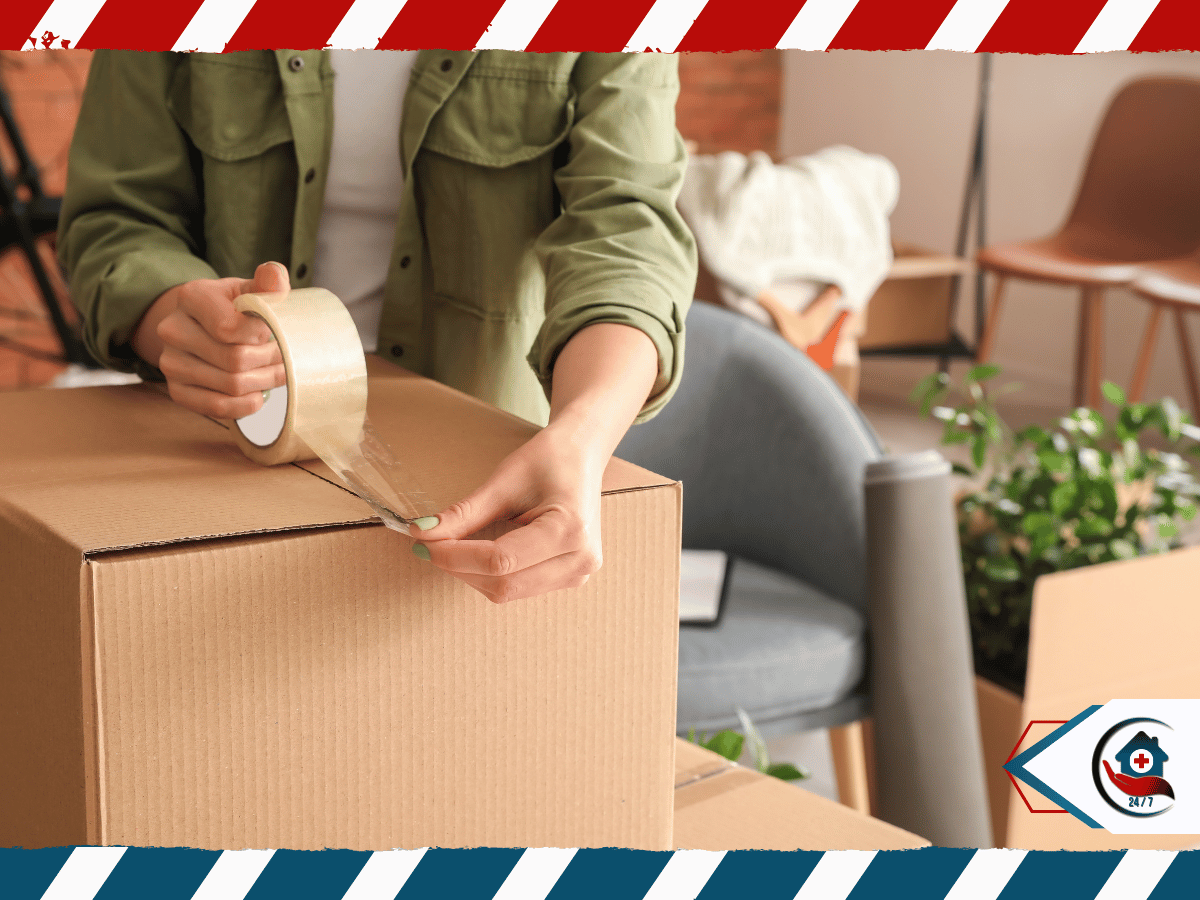
Packing and Organizing Items
Packing properly is just as important as where you store things. A little care now can save you from frustration—and broken valuables—later. The key is to protect each item while keeping your storage unit or room as organized and accessible as possible.
Properly Packing Fragile Items
Delicate items like glassware, electronics, and collectibles require extra attention. Use the right materials and techniques to reduce the risk of cracks, chips, or shifting during the renovation.
Here’s how to pack fragile items safely:
- Use bubble wrap, foam sheets, or towels for padding
- Pack heavy items at the bottom, lighter ones on top
- Fill gaps in boxes to prevent shifting
- Label boxes as “Fragile” and mark which side is up
- Store them in a low-traffic corner of your storage space
Taking the time to pack carefully will protect sentimental or high-value possessions from accidental damage.
Labeling Boxes Clearly
Once everything is packed, labeling becomes your best friend—especially if your reconstruction project lasts weeks or months. Clear labels help you locate specific items without opening every box or digging through your storage unit.
Tips for labeling:
- Use bold, waterproof markers
- Include room names (e.g., “Kitchen – Pots and Pans”)
- Add a brief list of key contents on each box
- Label multiple sides so boxes are identifiable when stacked
- Color-code by room or category for faster sorting later
Proper labeling saves time and stress when it’s time to unpack or when you need to grab something mid-renovation.
Creating an Inventory List
Keeping a master list of your stored items is a smart way to stay organized and track where everything is. It also helps in case of damage, loss, or insurance claims.
Here’s how to do it:
- Create a spreadsheet or use a mobile inventory app
- Note box numbers, room origin, and general contents
- Update the list as boxes are added, moved, or accessed
- Keep both a digital and printed copy if possible
Having a detailed inventory ensures you always know where your stuff is—even in the middle of a messy home improvement project.
Storing Items Safely
After planning and packing, how you physically store your belongings matters. Proper storage techniques prevent shifting, breaking, or damage from dust, tools, or foot traffic during the remodel.
Securely Storing Valuables
Not everything should be left sitting in a garage or storage container. Items like important documents, jewelry, heirlooms, and electronics should be treated with extra care—or even stored off-site in a secure self-storage facility if needed.
Tips for protecting valuables:
- Use a lockable cabinet or fireproof safe
- Keep valuables in interior rooms away from construction zones
- If possible, store them temporarily at a trusted friend or family member’s house
- Avoid labeling these boxes in a way that draws attention to their contents
Safeguarding your high-value items adds peace of mind during an already hectic renovation process.
Protecting Items from Dust and Debris
Dust is one of the most persistent problems during any home renovation. Even well-contained projects can kick up debris that drifts into nearby spaces, settling into boxes, fabrics, and electronics.
To shield your stuff:
- Wrap furniture with plastic sheeting or moving blankets
- Cover open shelving with drop cloths
- Use sealable plastic bins instead of cardboard boxes when possible
- Tape up box seams to keep dust from sneaking in
- Avoid stacking boxes near drywall cutting, sanding, or demo zones
These simple storage tips help keep your belongings clean and damage-free until the project wraps up.
Utilizing Shelving and Racks for Organization
Instead of piling boxes on top of one another, consider vertical storage solutions. Shelving and racks can make a huge difference in keeping your storage area functional and safe.
Benefits of using shelves:
- Keeps boxes off dusty or damp floors
- Prevents crushing delicate items at the bottom of piles
- Makes inventory easier to track and access
- Allows airflow around furniture and textiles
- Frees up floor space for large or oddly shaped stuff
Good organization makes it easier to move, clean, and retrieve things without causing a mess.
Implementing Security Measures
When your house is under construction, there’s often more foot traffic than usual—contractors, delivery teams, inspectors, and more. That’s why protecting your stored belongings from theft or tampering is crucial. Implementing basic security measures can deter problems and help you feel confident about storing items on-site.
Installing Security Cameras
Setting up a few strategically placed security cameras around your storage area or garage can go a long way in protecting your belongings. Many modern systems are affordable, easy to install, and viewable from your phone.
Benefits include:
- Deterring theft or unauthorized access
- Keeping tabs on deliveries and contractors
- Documenting any issues for insurance purposes
- Providing peace of mind when you’re away from the house
Wireless cameras are great for temporary renovations and can be relocated as needed.
Using Locks and Alarms
Whether you’re storing stuff in the garage, a portable container, or a dedicated storage unit, quality locks and alarms are your first line of defense.
Here’s how to level up your security:
- Use heavy-duty padlocks on any exterior-access storage
- Add motion detectors or door sensors
- Install basic alarm systems or contact sensors on doors
- Consider smart locks for remote access if contractors need entry
These simple upgrades make your storage setup far more secure without breaking the budget.
Hiring Security Guards as Needed
For large-scale renovations or projects in high-traffic neighborhoods, hiring a security guard may be worth considering—especially if your storage unit contains high-value items or if your home will be vacant for an extended time.
Advantages:
- Constant monitoring of entrances and storage areas
- Ability to verify who comes and goes
- Immediate response in case of breach or theft
- A visible deterrent for potential intruders
While not necessary for every project, this option adds serious peace of mind in the right situations.
Monitoring and Maintenance
Even after everything is packed and secured, it’s important to periodically check on your stored belongings. Dust, leaks, pests, or unexpected damage can still occur—especially during long home improvement projects.
Checking Items Regularly
Make it a habit to inspect your storage area every few days or weekly:
- Look for signs of water leaks or dust infiltration
- Check box labels and inventory for signs of disturbance
- Re-secure any items that may have shifted
- Adjust coverage if new areas become exposed to debris
A quick 10-minute check can prevent long-term problems.
Addressing Any Damage Immediately
If you notice damaged boxes, missing items, or dust-covered furniture, don’t wait. Address the problem immediately to avoid further complications.
Steps to take:
- Move compromised items to a cleaner or drier area
- Clean or wipe down surfaces as needed
- Re-wrap or re-box as appropriate
- Make a note in your inventory and take photos for documentation
Quick action can reduce the need for replacement or costly cleaning down the line.
Updating Inventory List as Needed
As the renovation progresses, your storage needs may change—items come out, new items go in, or boxes get shuffled.
Be sure to:
- Update your list when items are moved or unpacked
- Note any missing or damaged possessions
- Track what’s being temporarily used and then returned to storage
An up-to-date inventory helps streamline cleanup and reorganization once your project wraps up.


